When several tools go out to the same project, there is no need to scan and confirm them one at a time. Bulk assignment in the mobile app takes the whole pile in one go: pick the project, switch on Scan Continuously, scan the tools one by one and tap Assign. Every tool gets its own history line with the project, the time and the name of the person who assigned it.
How to assign several tools to a project
Pick the project, scan everything that goes along, tap Assign. That is the whole routine.
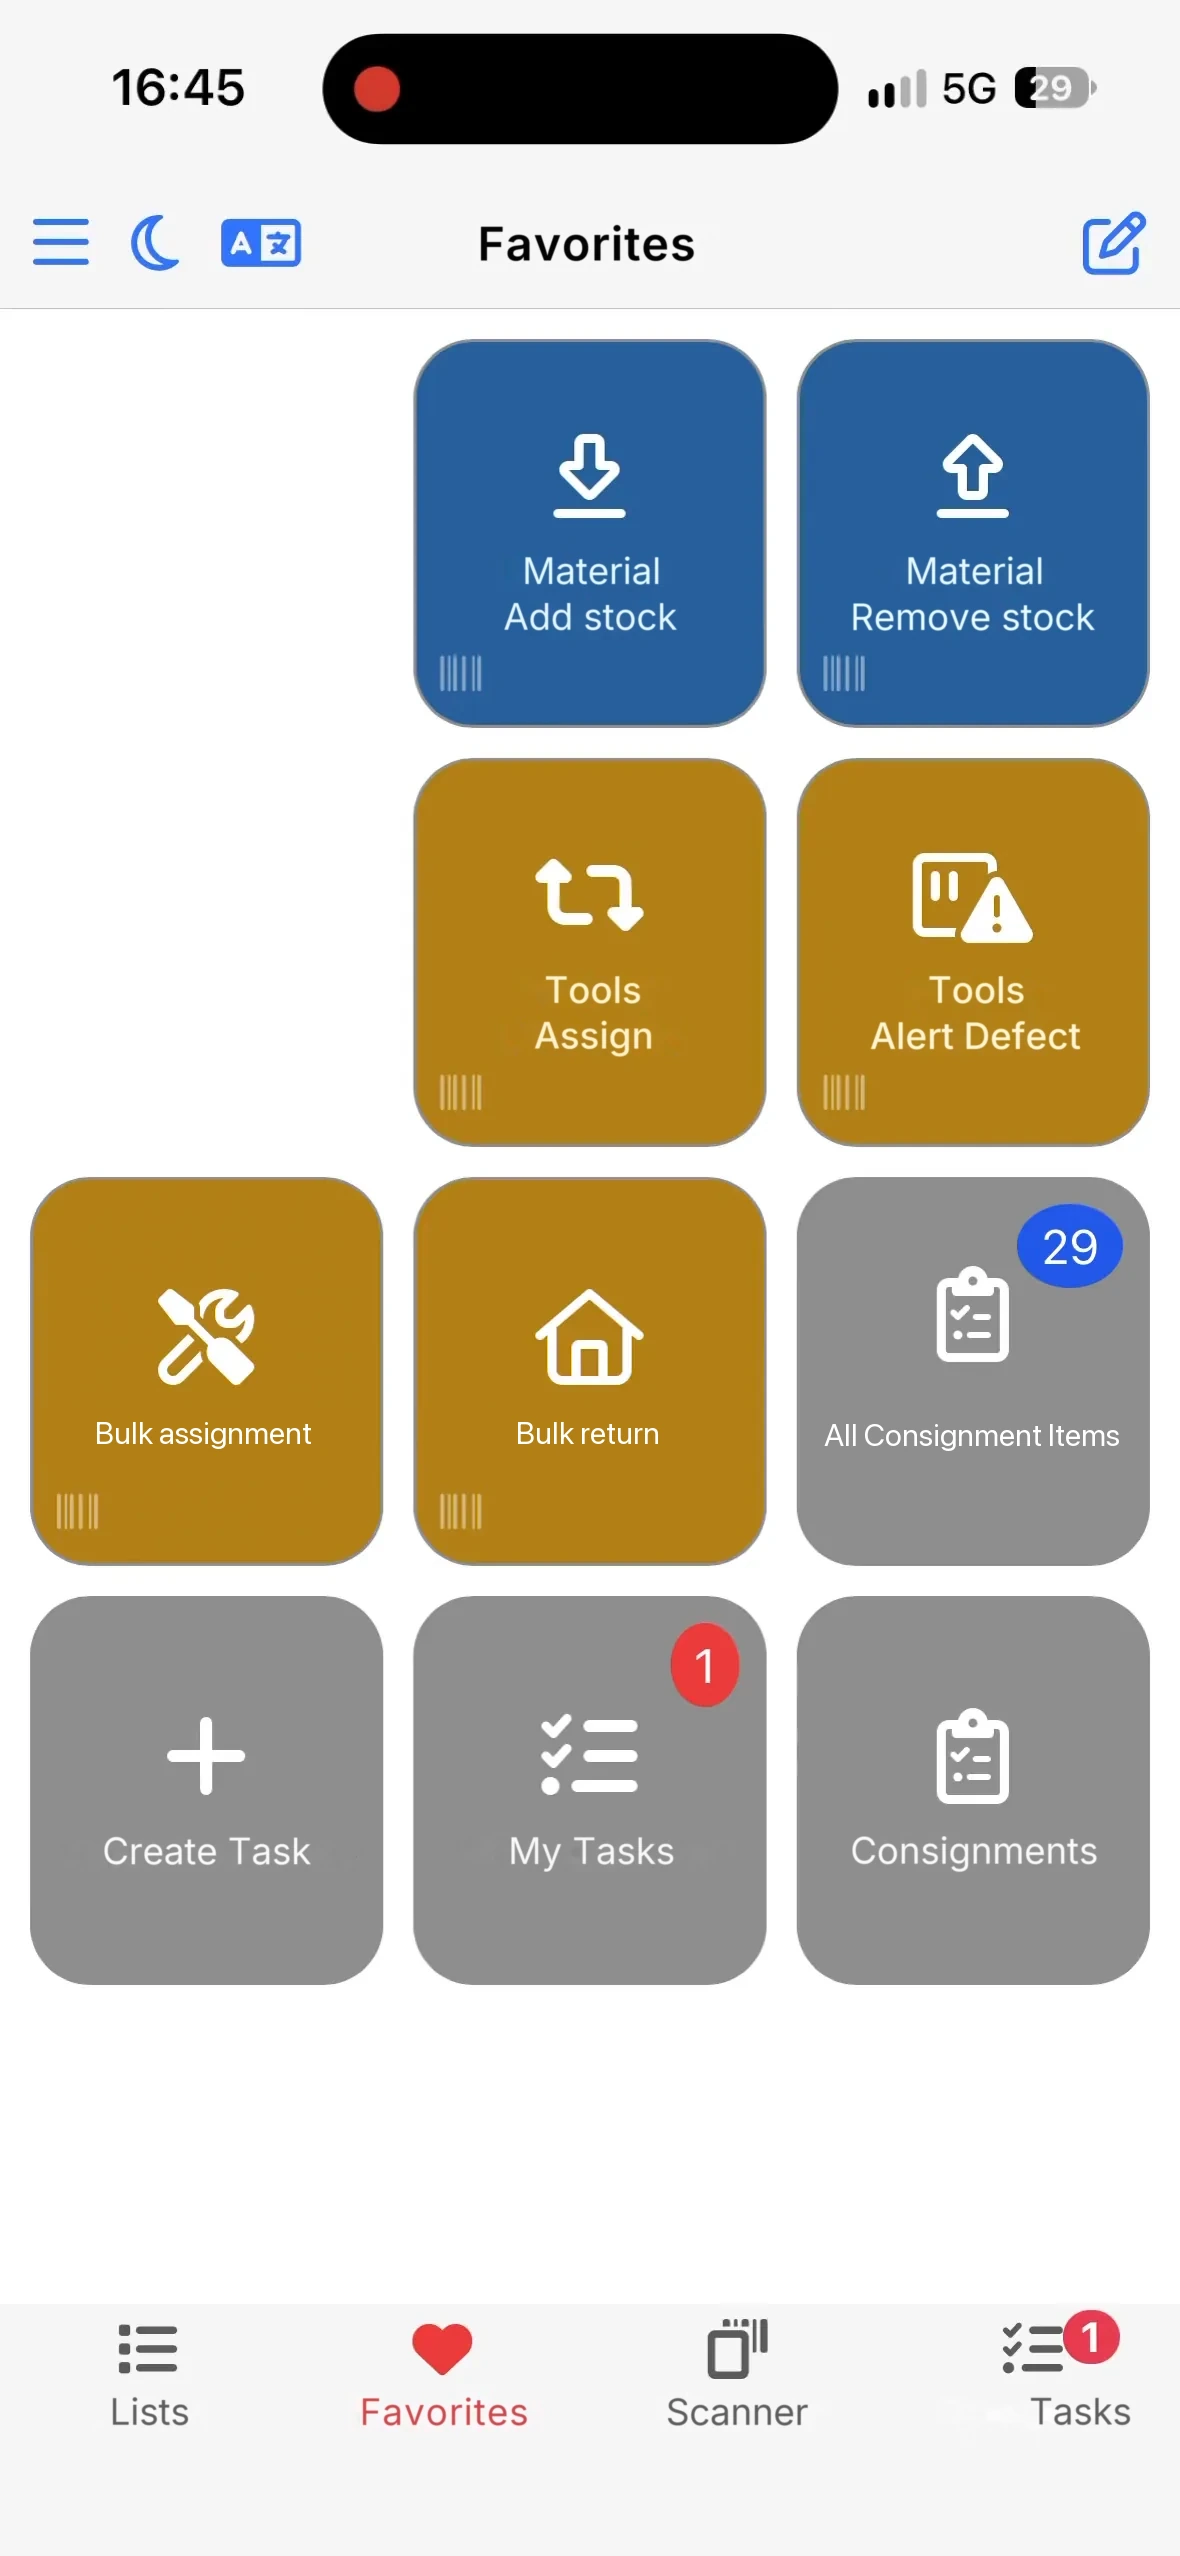
Tap Bulk assignment, choose the Project tab and pick the project from the list
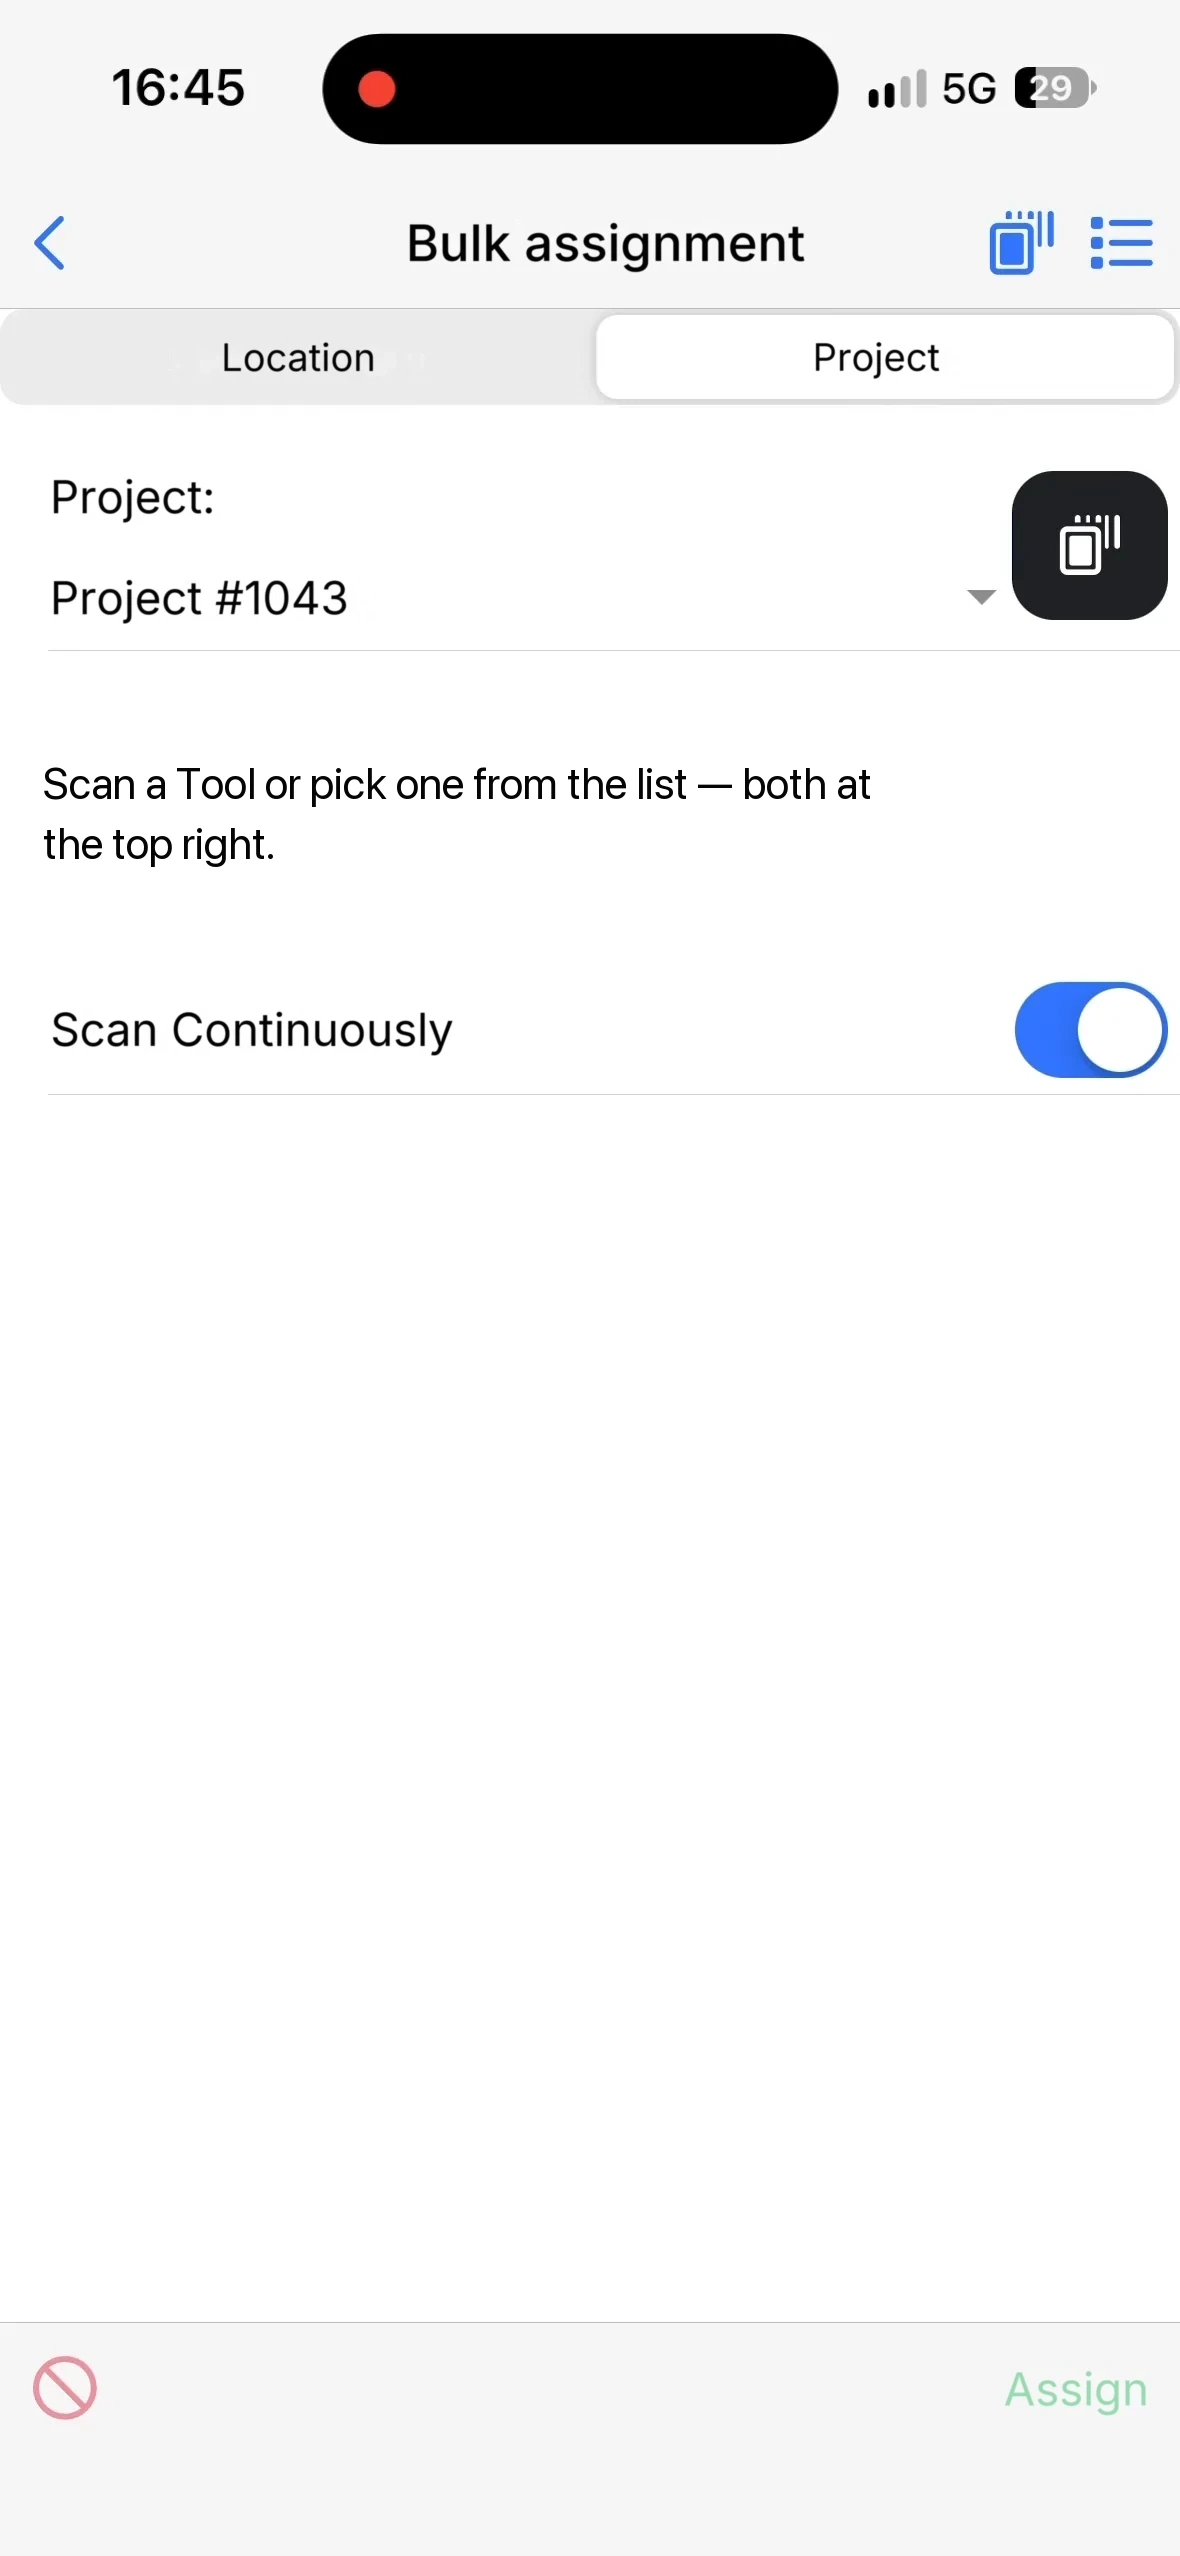
Switch on Scan Continuously, tap the scanner icon at the top right and scan the tools one after the other
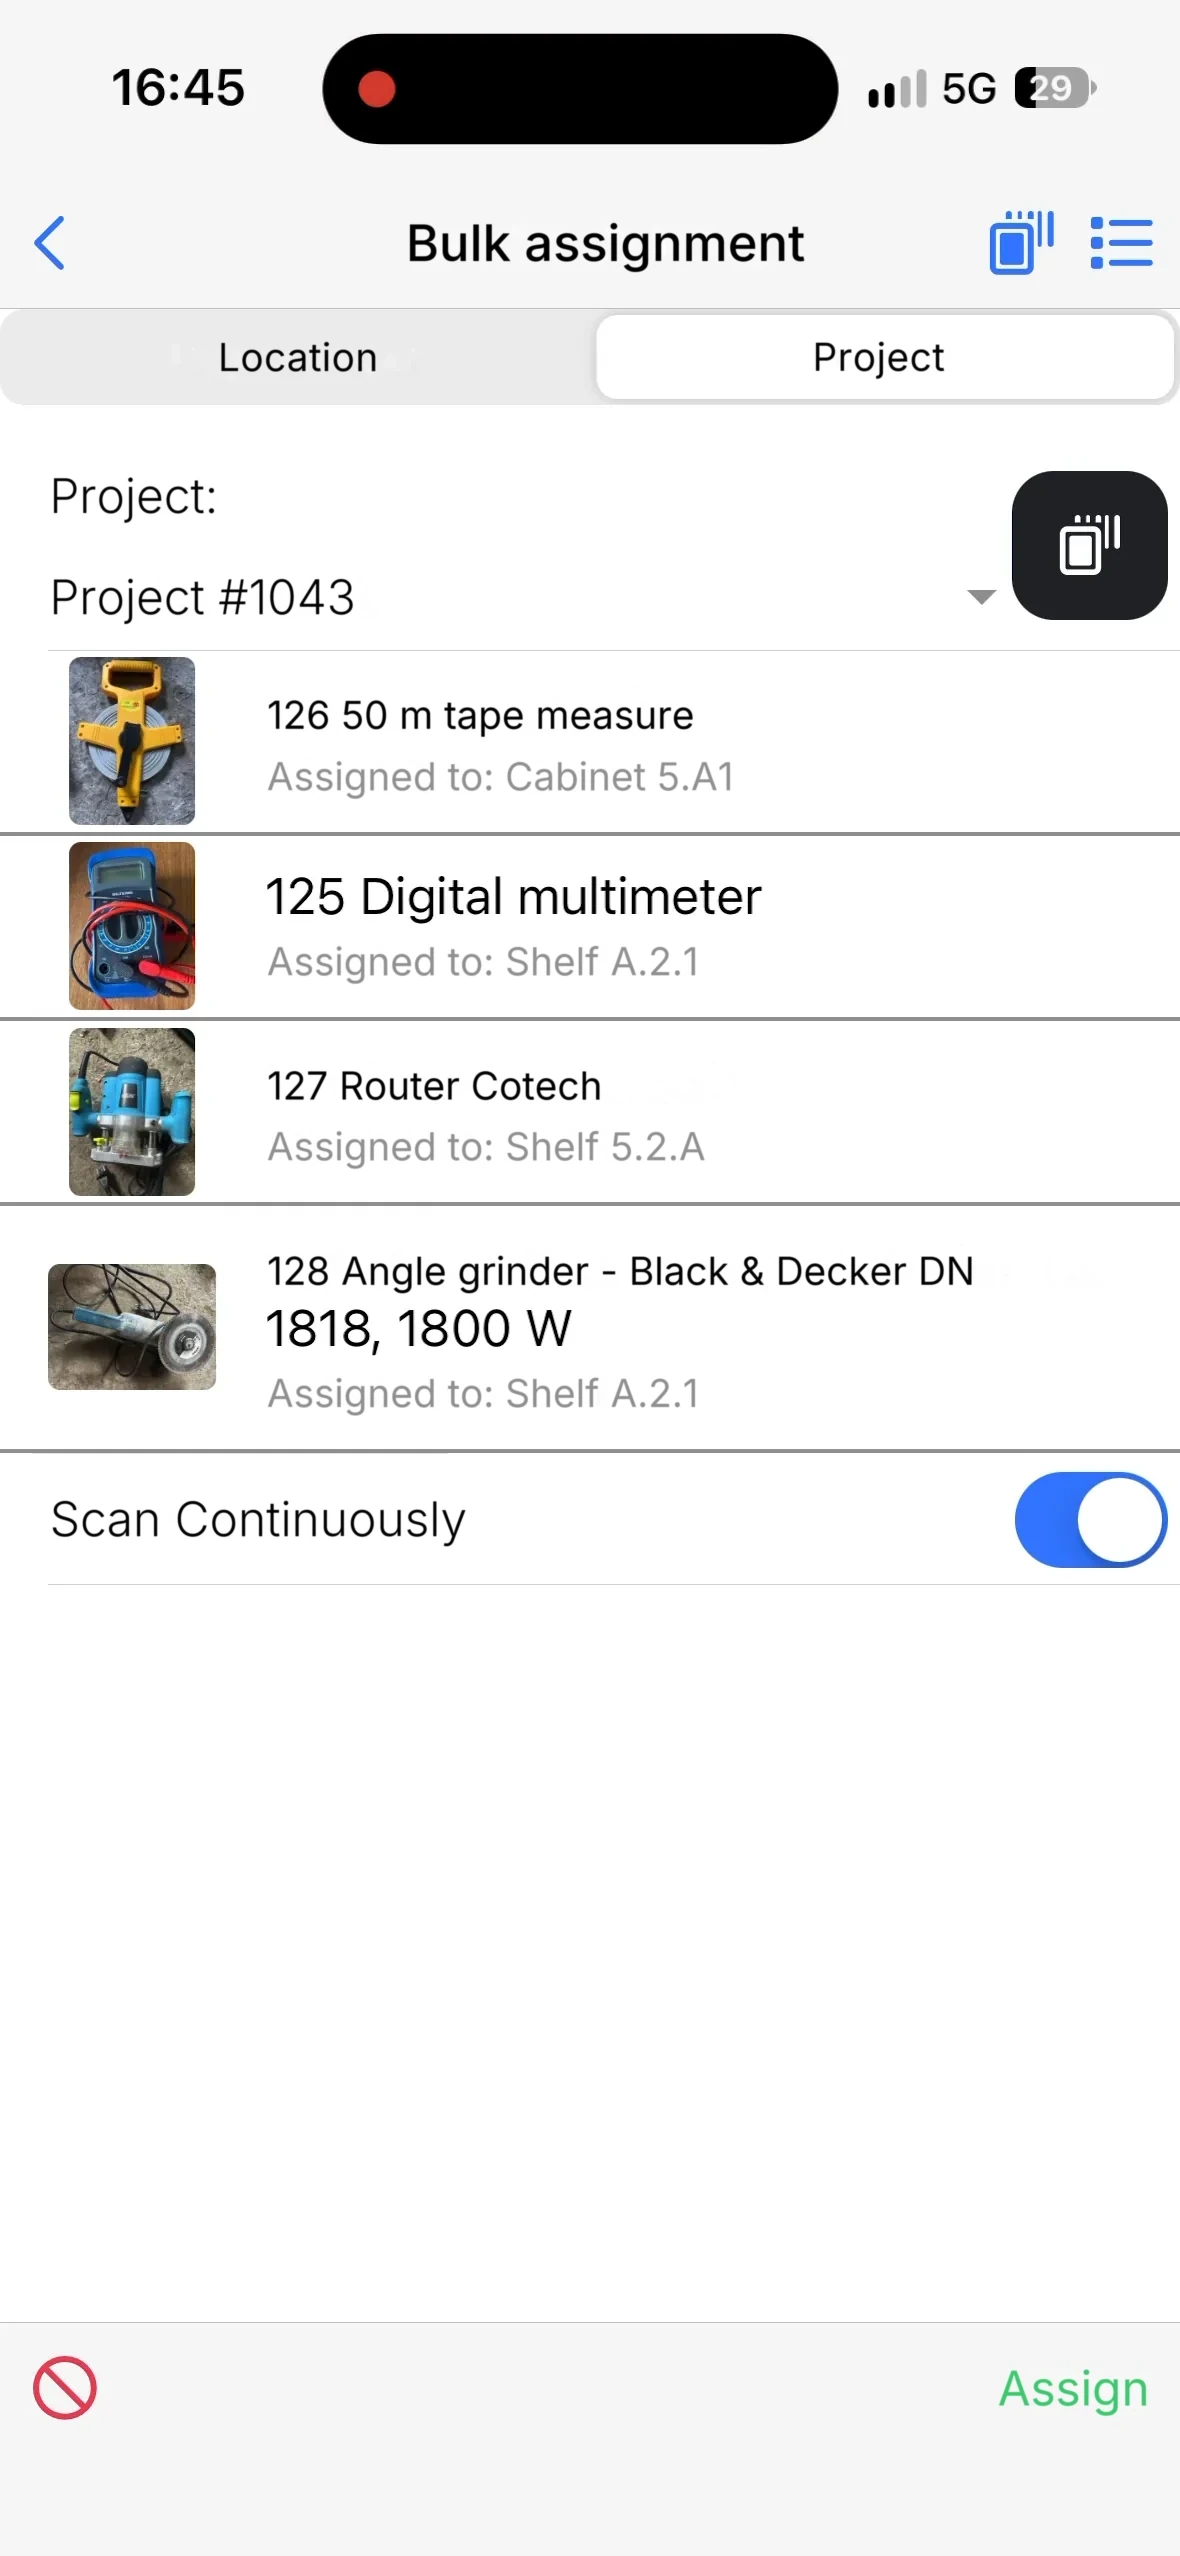
Check the list and tap Assign at the bottom right
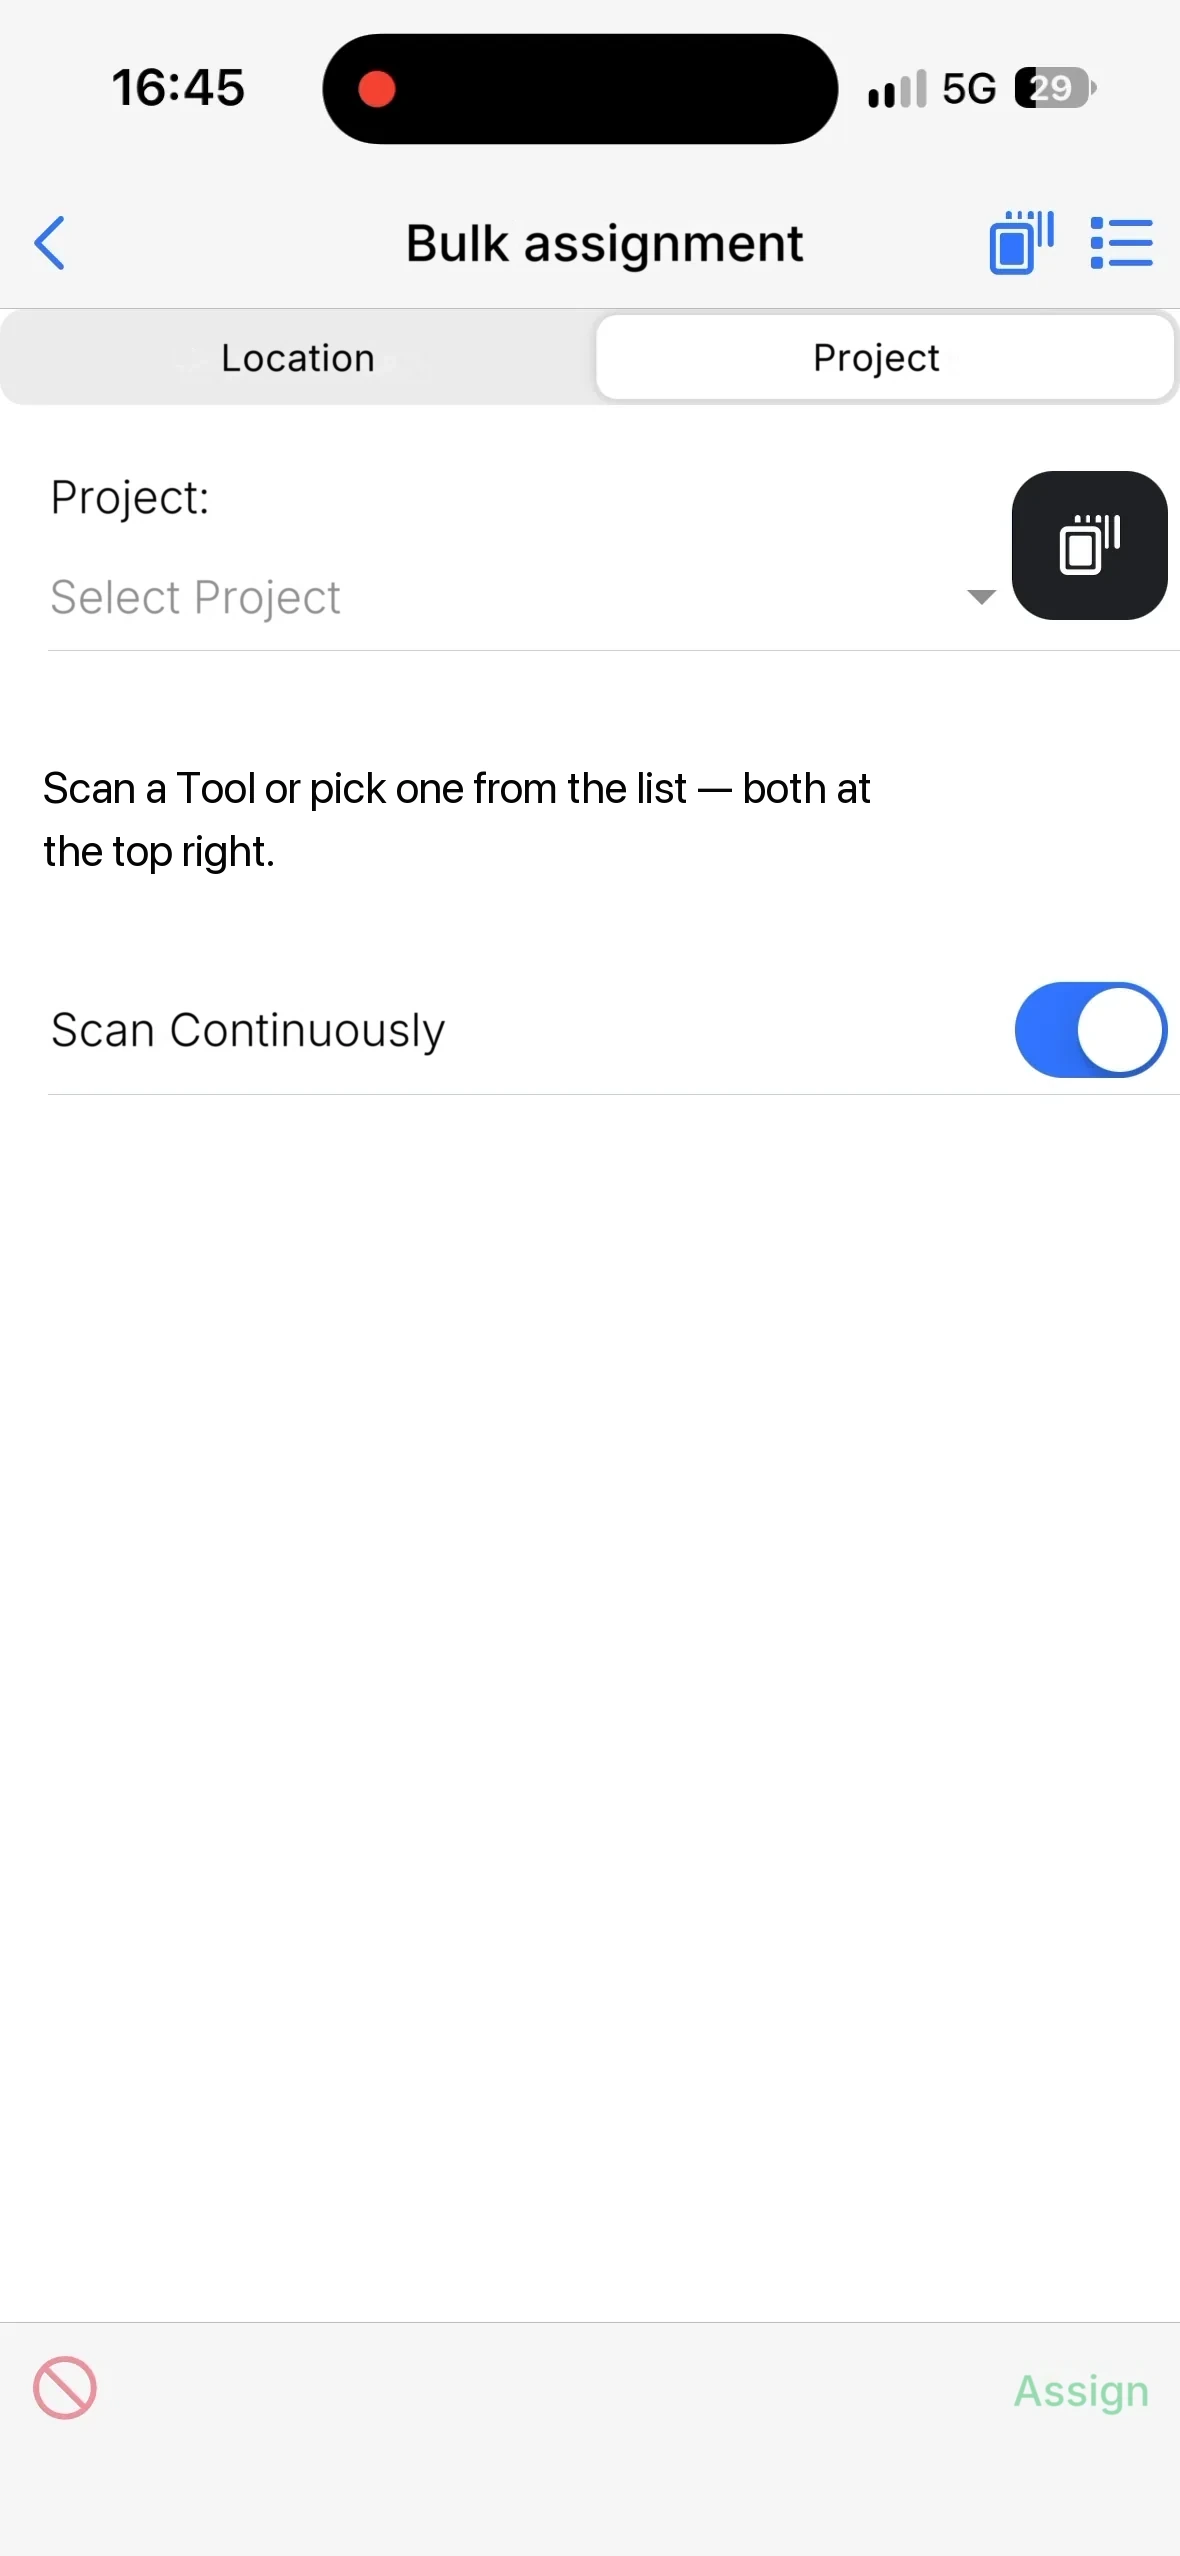
Step 1: pick the project
At the top of the screen you choose between Location and Project. Under Project you tap Select Project and get the list of your projects, with a search field at the top. The project stays selected until you leave the screen, so the next round to the same project starts straight at the scanning.

Step 2: scan the tools in one go
With Scan Continuously switched on, the scanner opens again every time a tool has been added to the list, until you close it with the cross. Scan one tool at a time. If a tool is refused (see Good to know), scanning stops there; tap the scanner icon to carry on. The scanner reads both the QR code from Lagerdrift and the barcode the tool already had. Every tool lands in the list with its picture, its item number and where it is now. A tool without any code you fetch with the list icon at the top right.
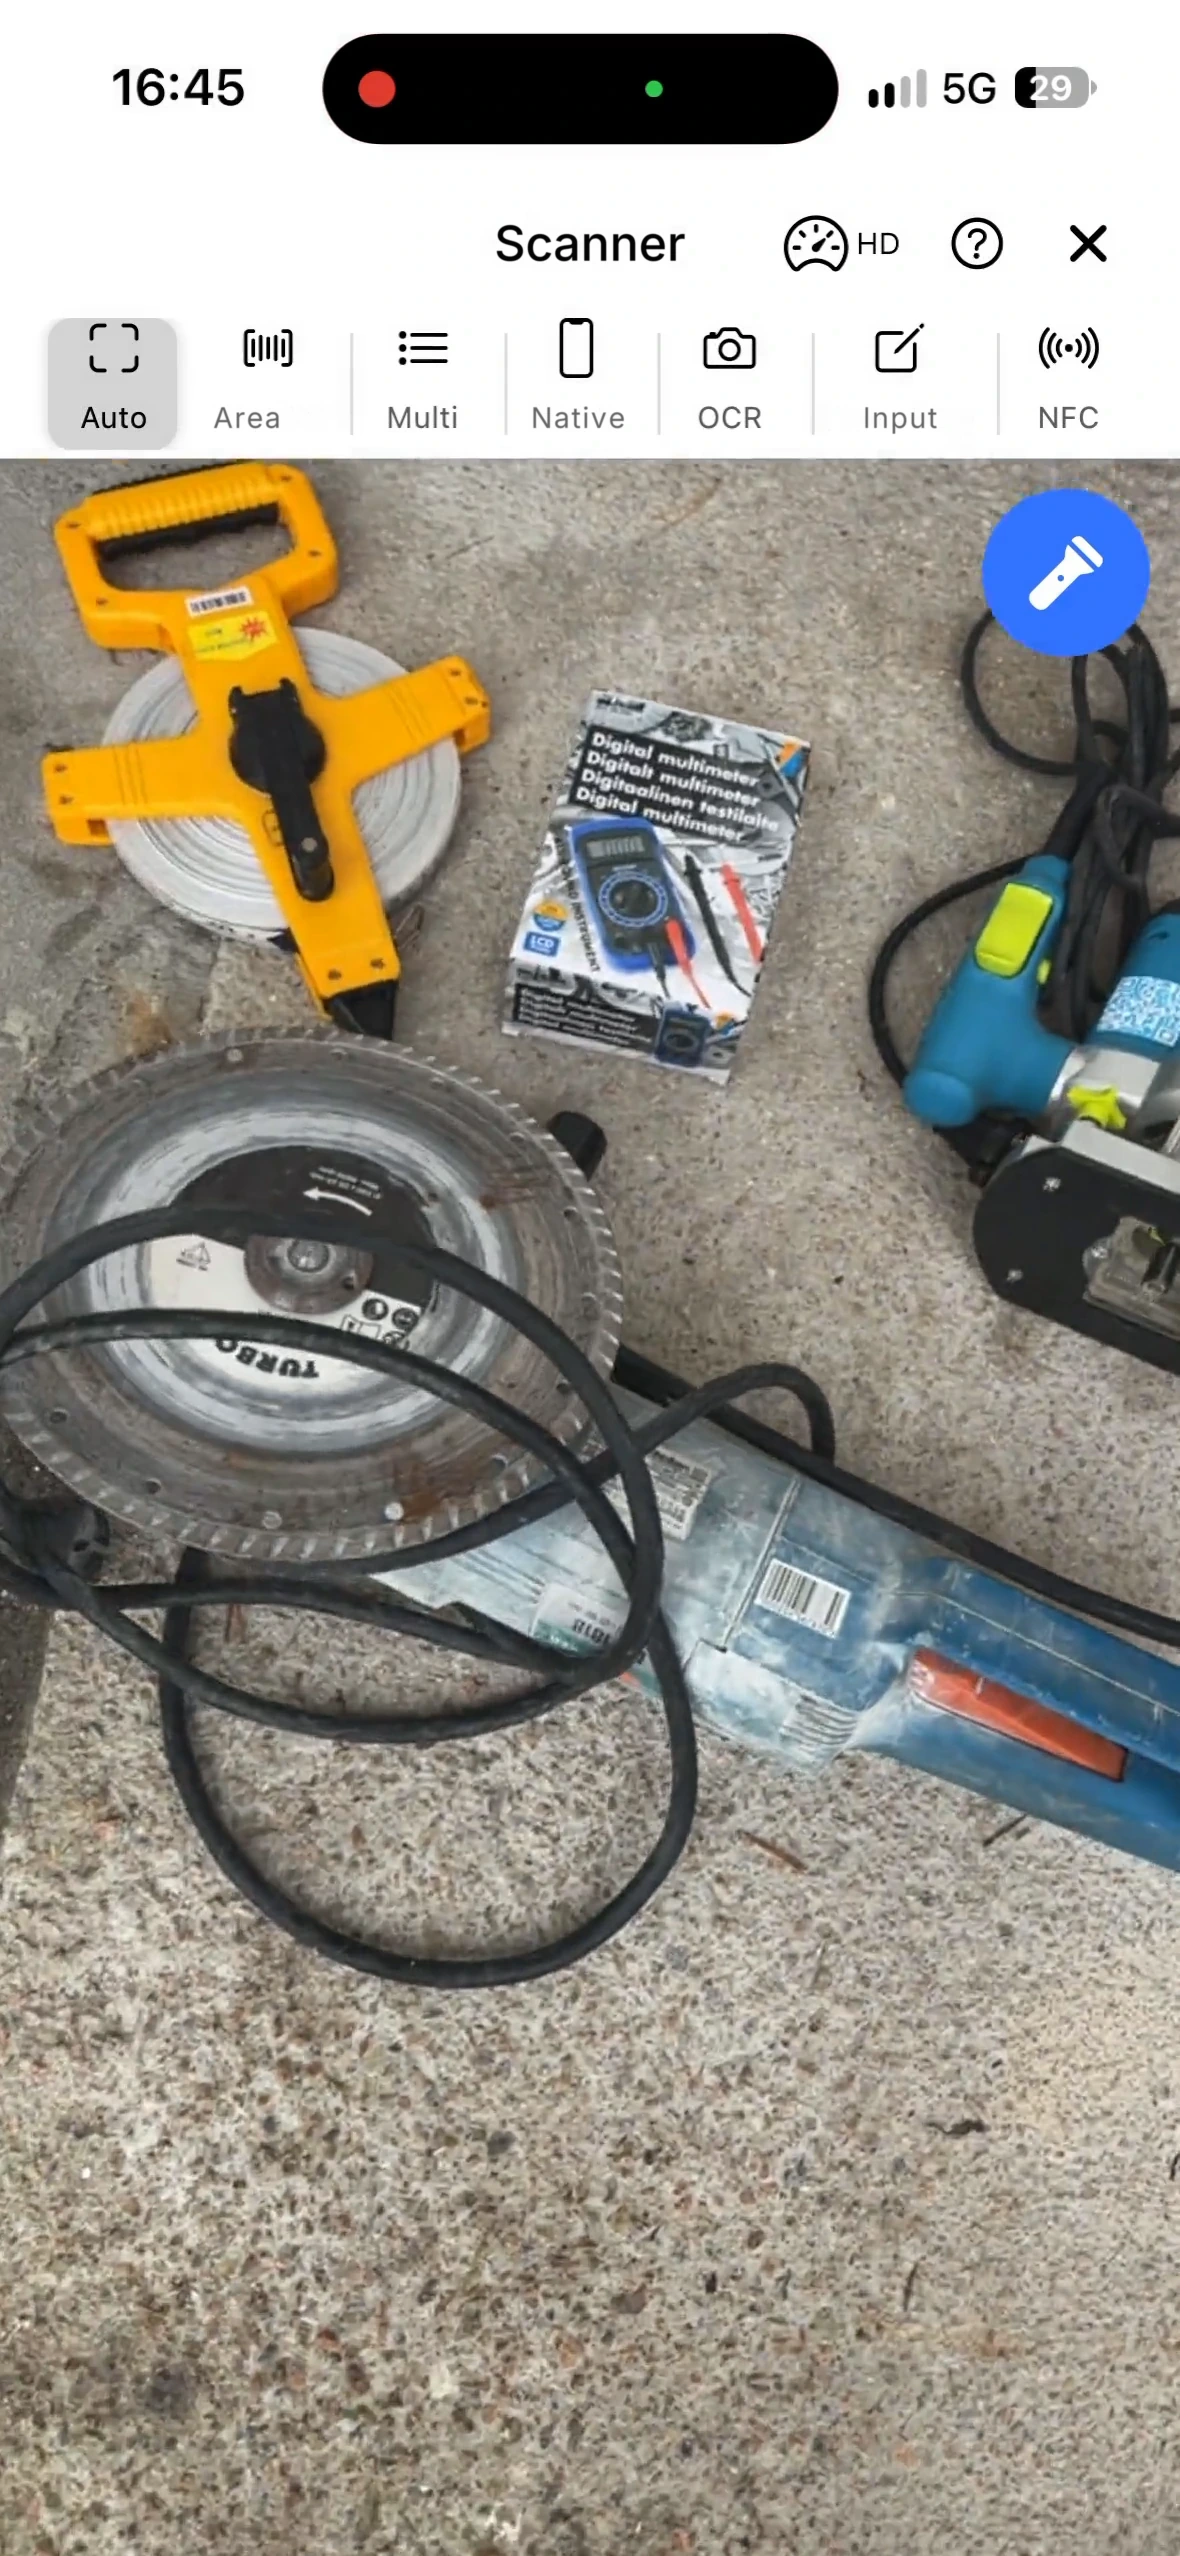
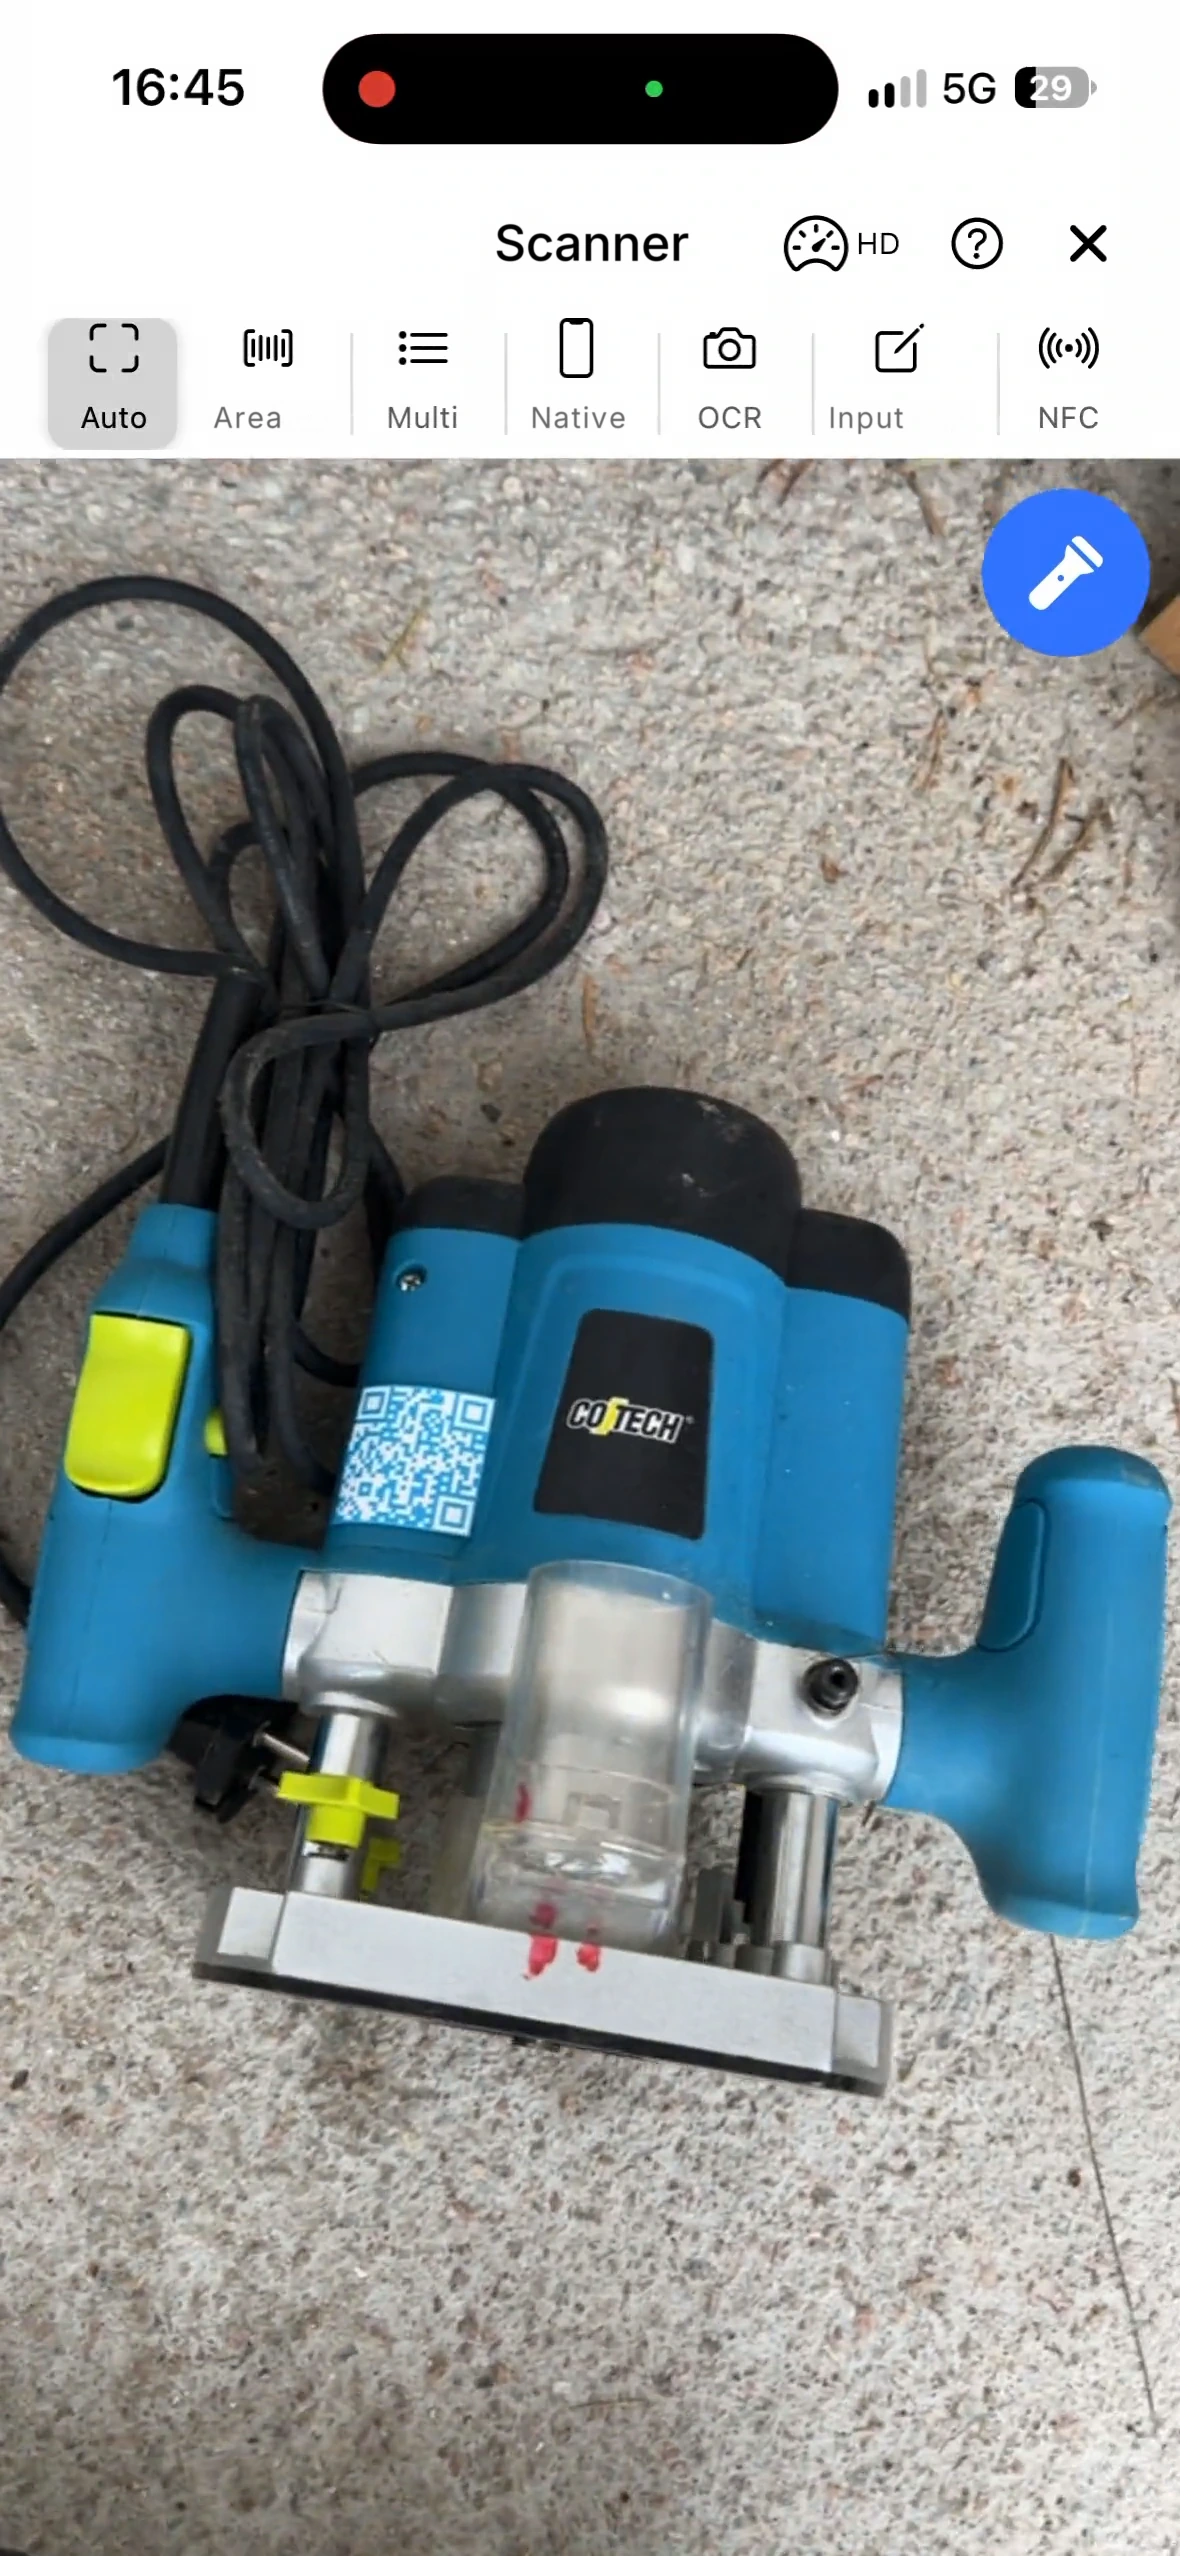
The Scan Continuously setting is remembered on the phone, so it stays on next time too.
Step 3: tap Assign
Tap Assign at the bottom right. The app registers all the tools in one operation and confirms with a green message: 4 Tools assigned to [P] Project #1043. The list is cleared and the screen is ready for the next round.
![The confirmation 4 Tools assigned to [P] Project #1043 at the bottom of the screen](img/samlet-tildeling/samlet-tildelt.webp)
To a location instead of a project
When the tools go to a shelf, a van, a container or a colleague, use the Location tab. You fill the Assign to field from the list of locations marked as templates (the list icon), by scanning the QR code hanging on the location (the scanner icon), or by typing the name straight into the field. The rest is the same: scan the tools, tap Assign. The app remembers the last location you chose.
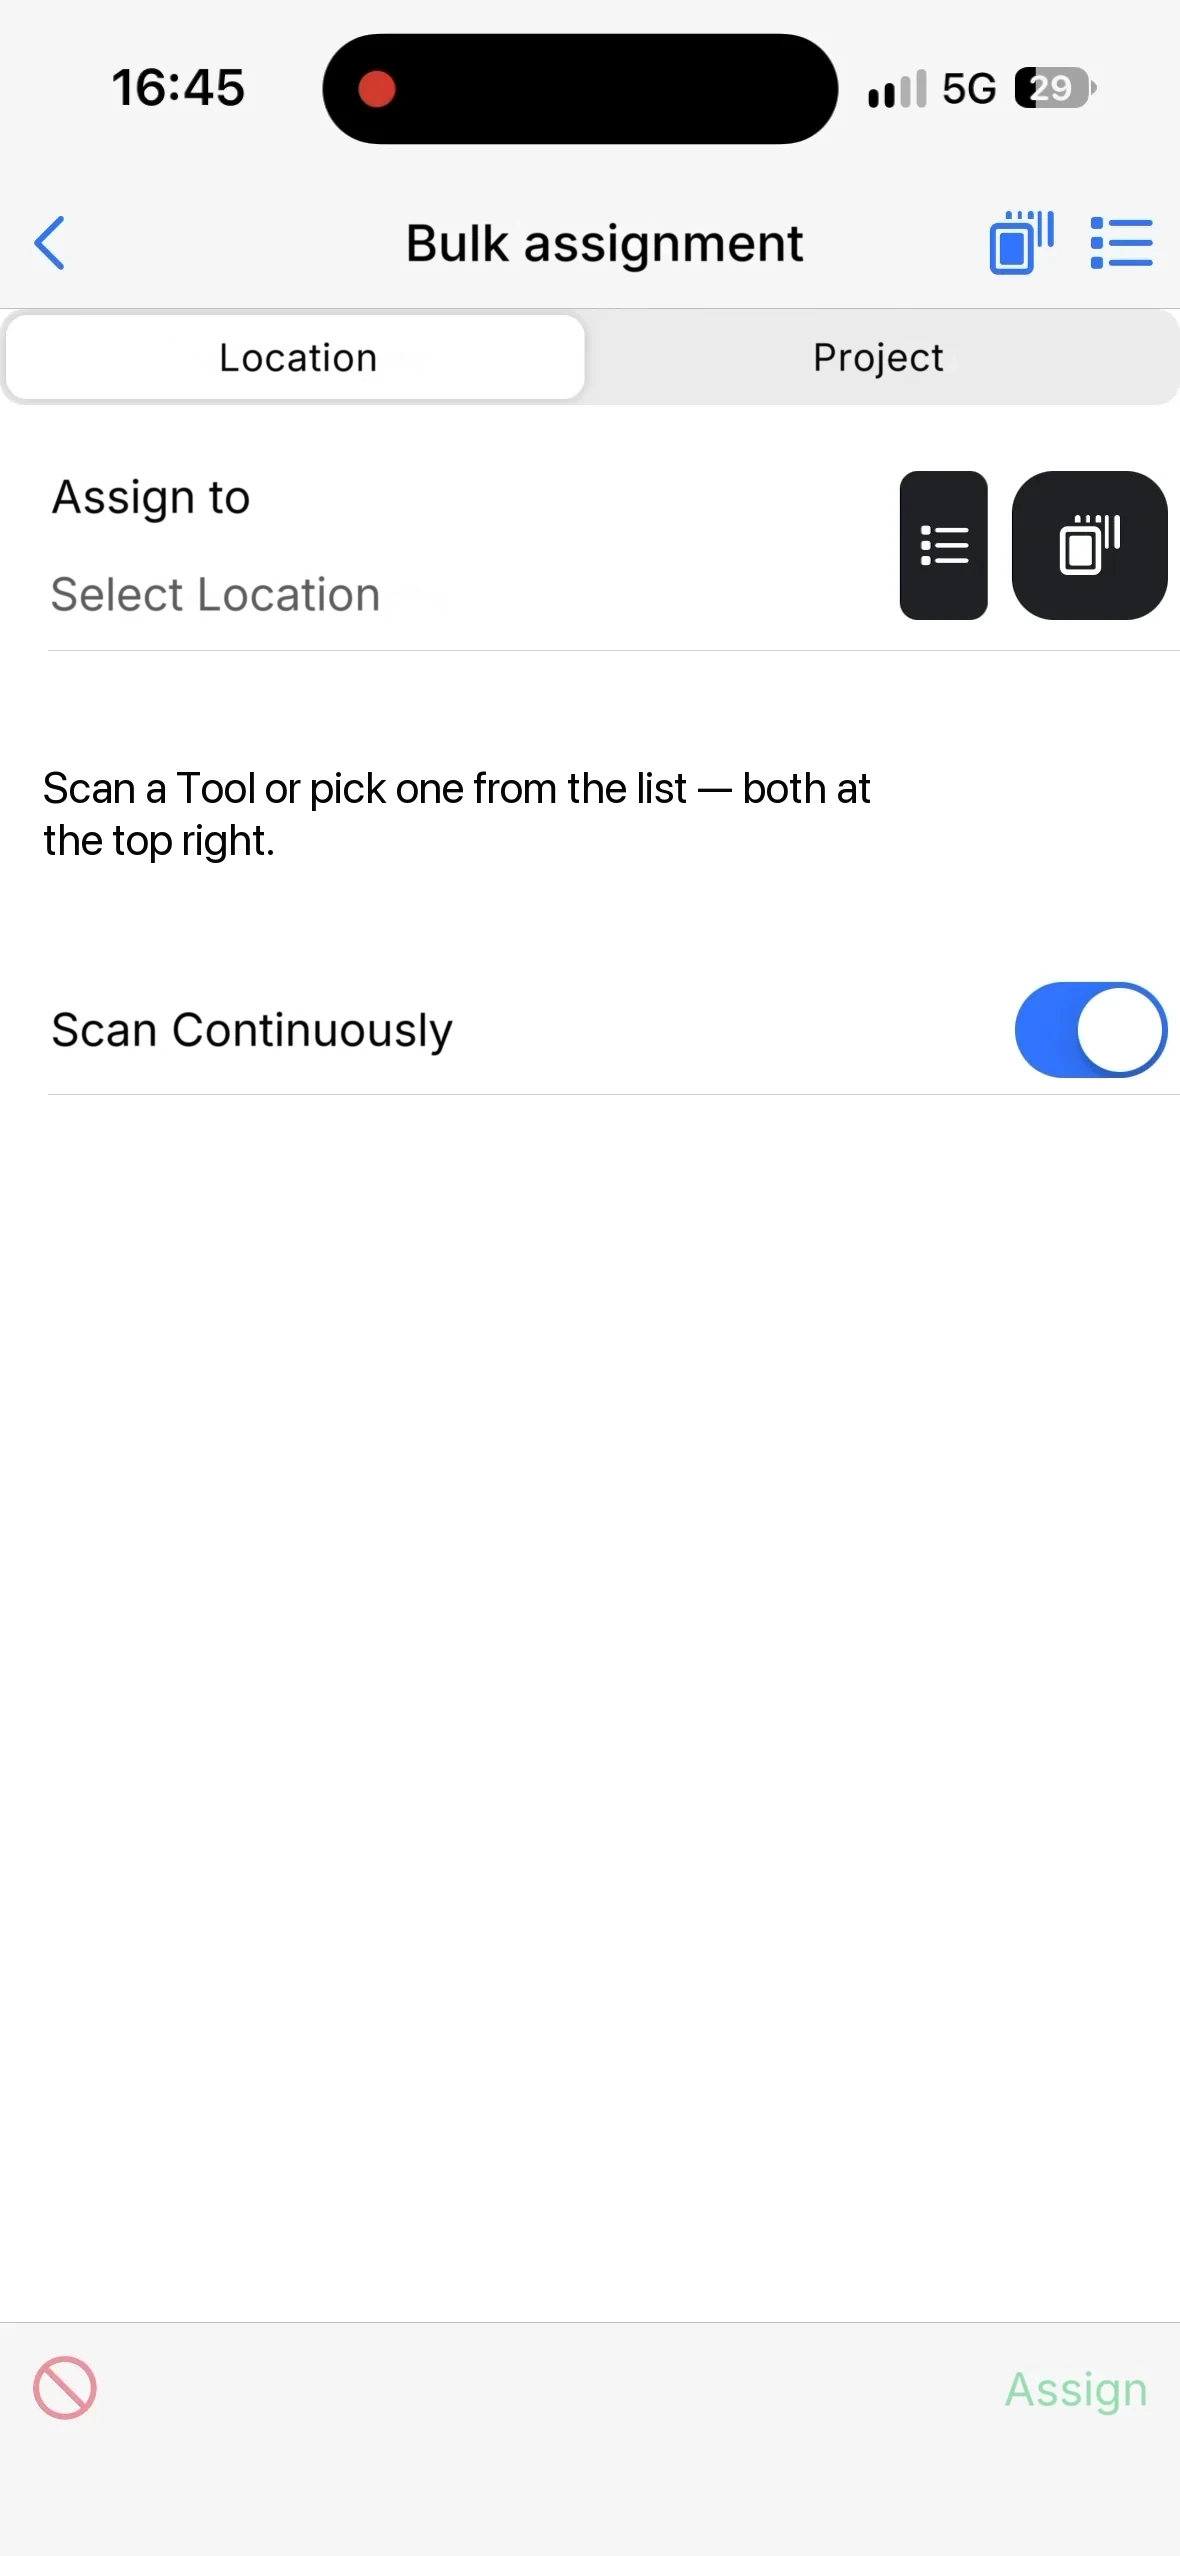
The tabs are shown only to users who can read projects. Without that right the user sees just the Assign to field and assigns to a location.
Bulk return: several tools home again in one go
Scan the tools that come back, tap Take back. You do not choose a destination: every tool goes back to its own home.
Tap Bulk return on the home screen and scan the tools one after the other, ideally with Scan Continuously switched on
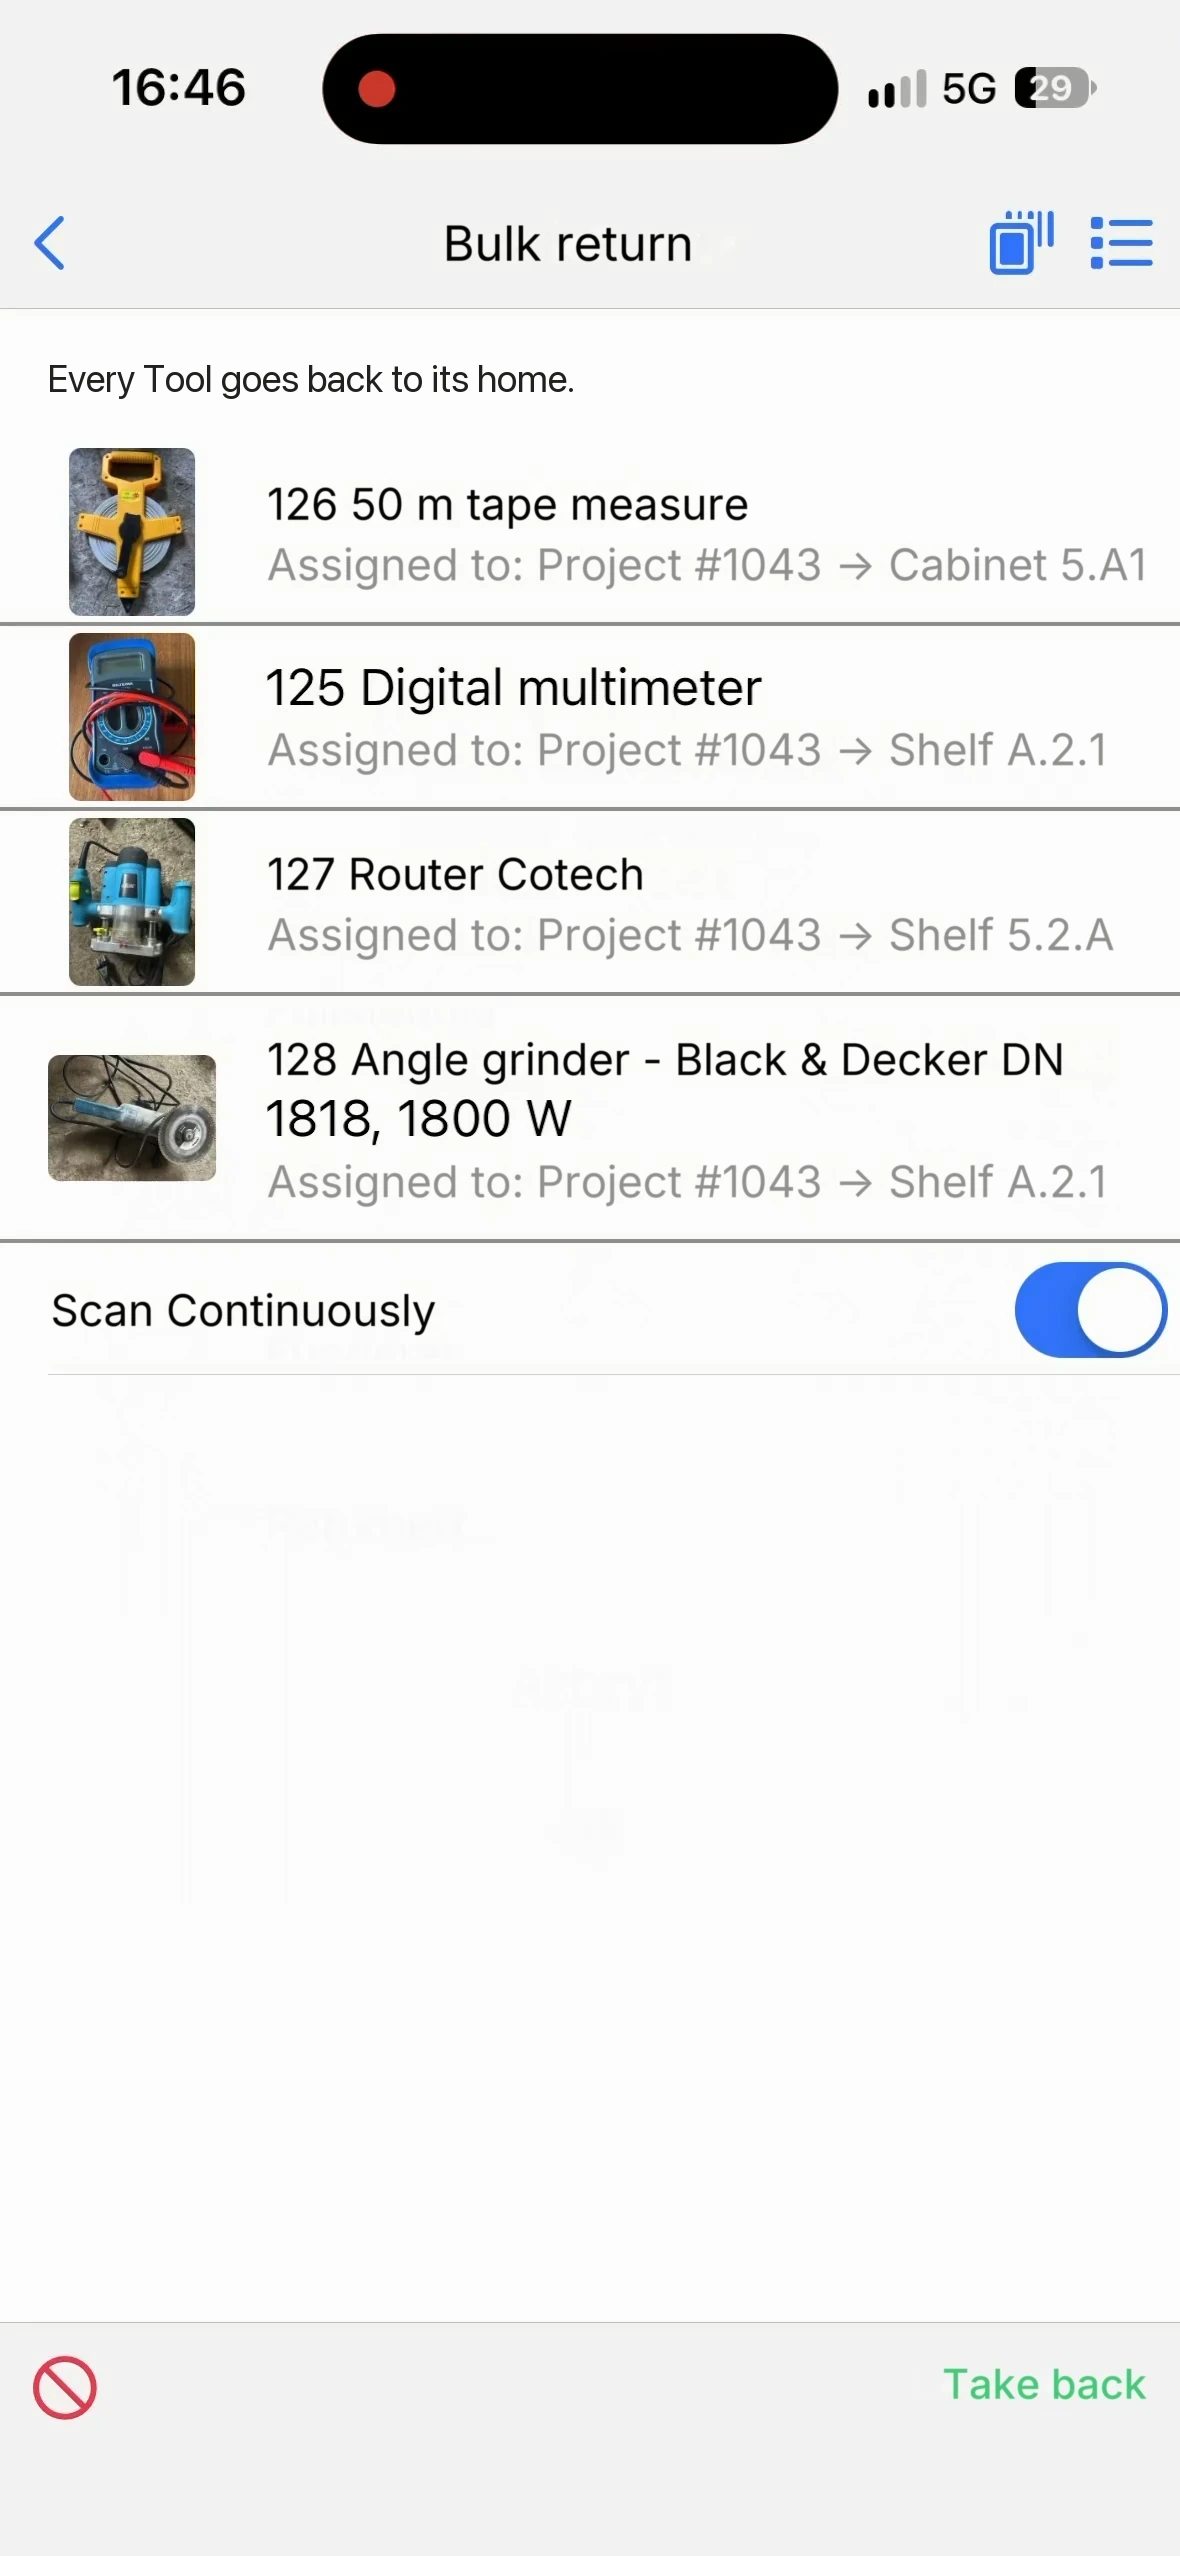
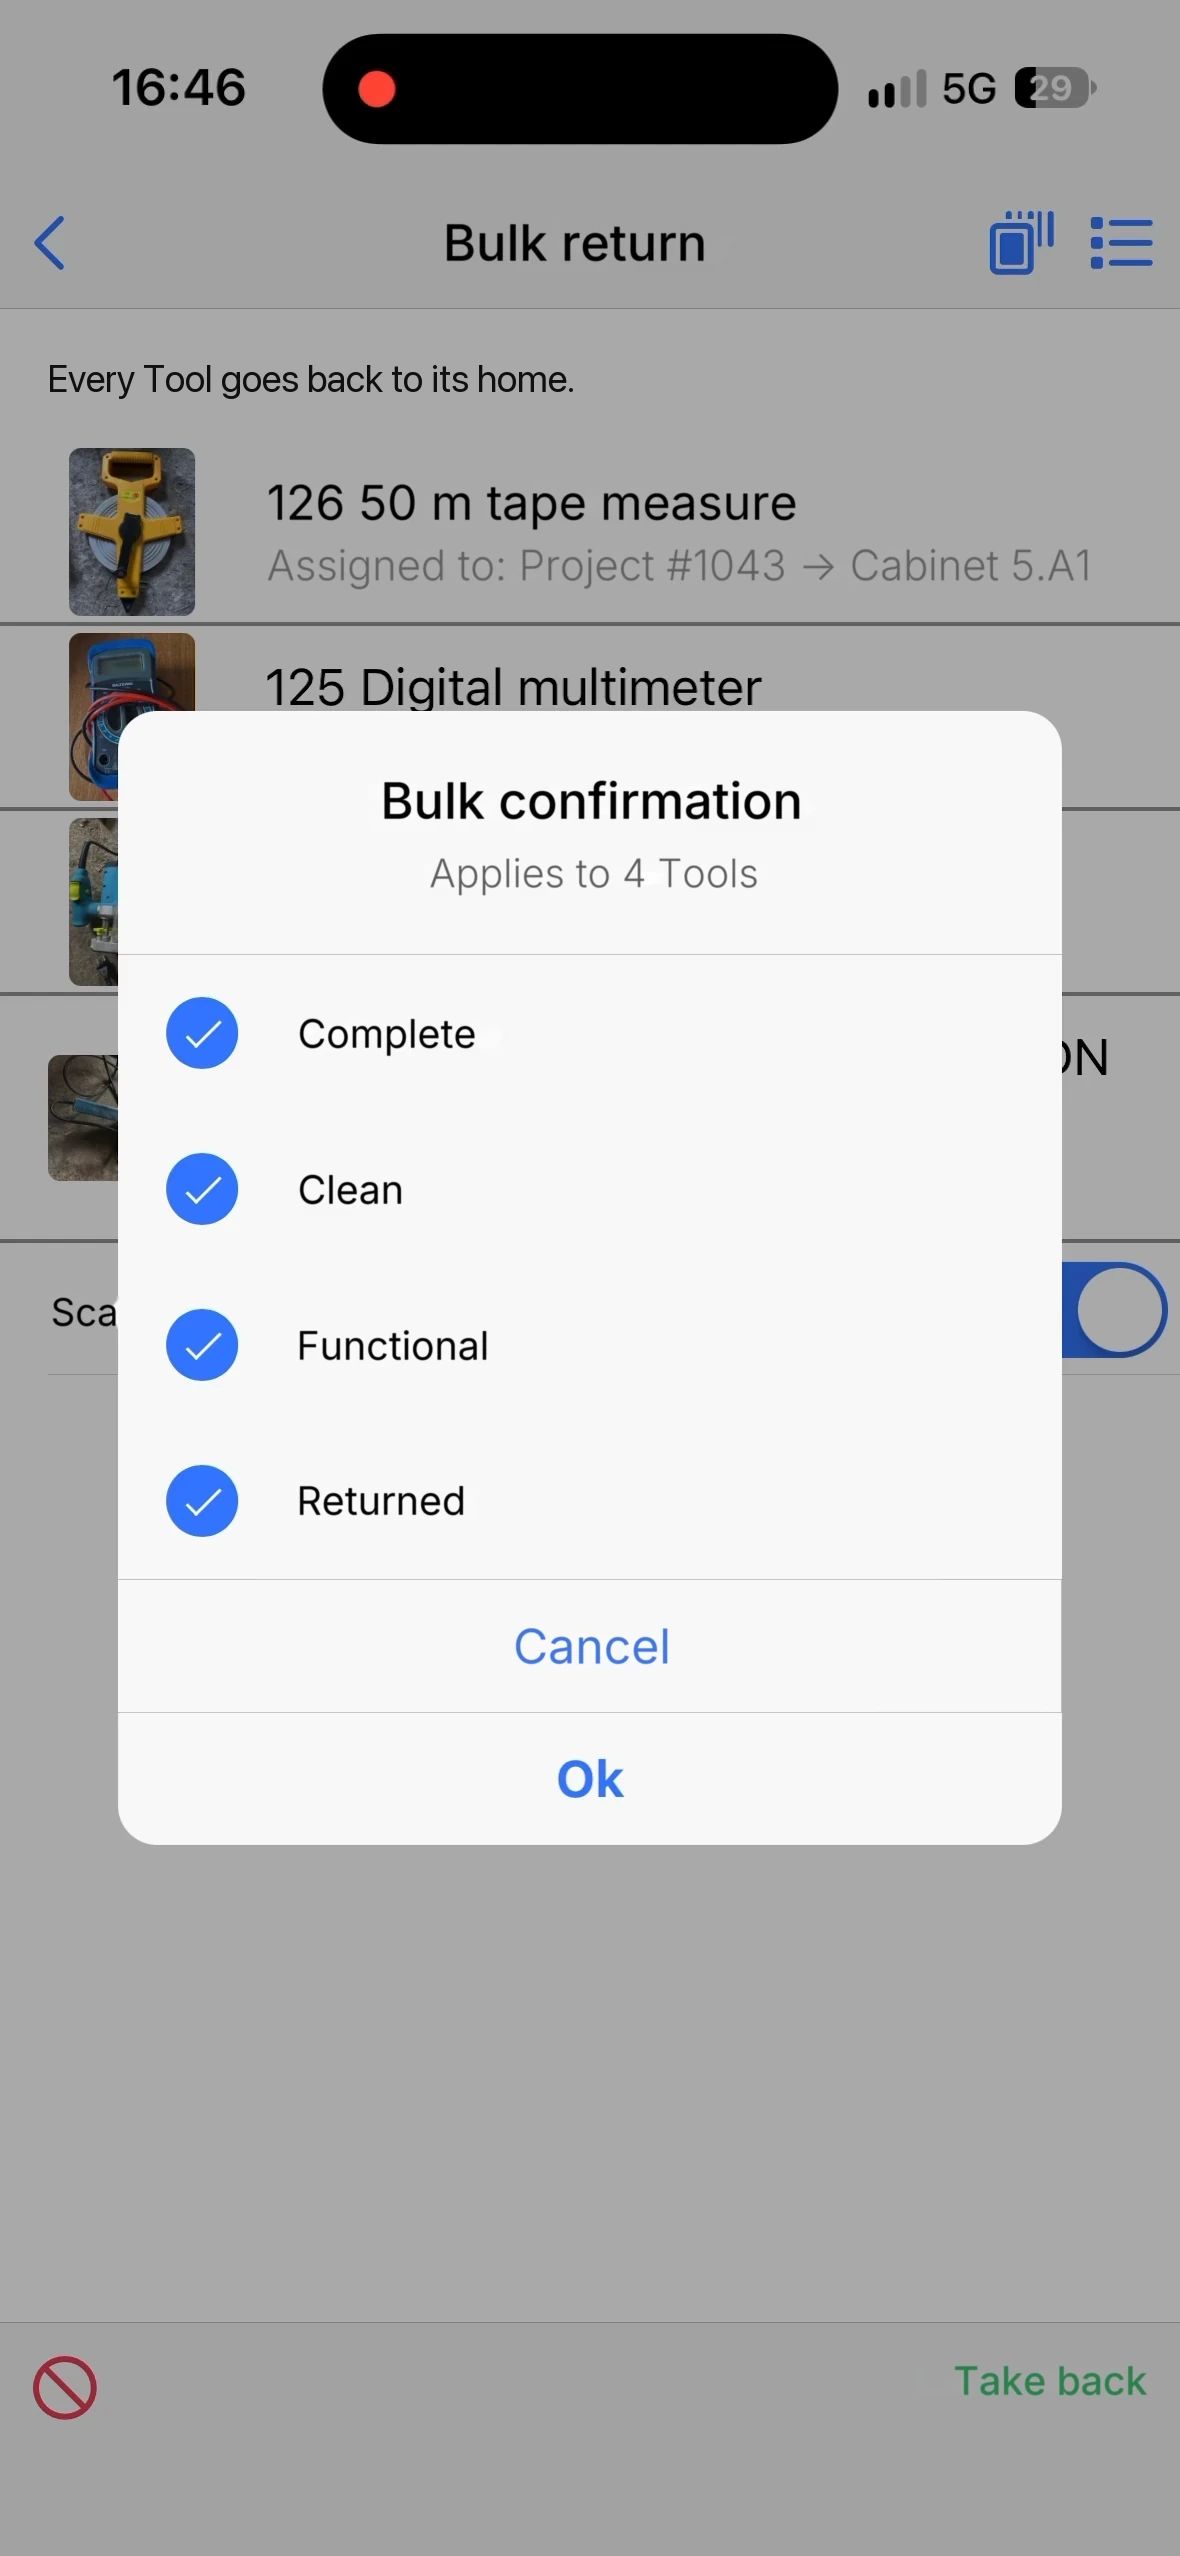
Tap Take back at the bottom right. You get one Bulk confirmation for the whole round: the points from the tool groups' return checklist, otherwise the standard points Complete, Clean, Functional and Returned
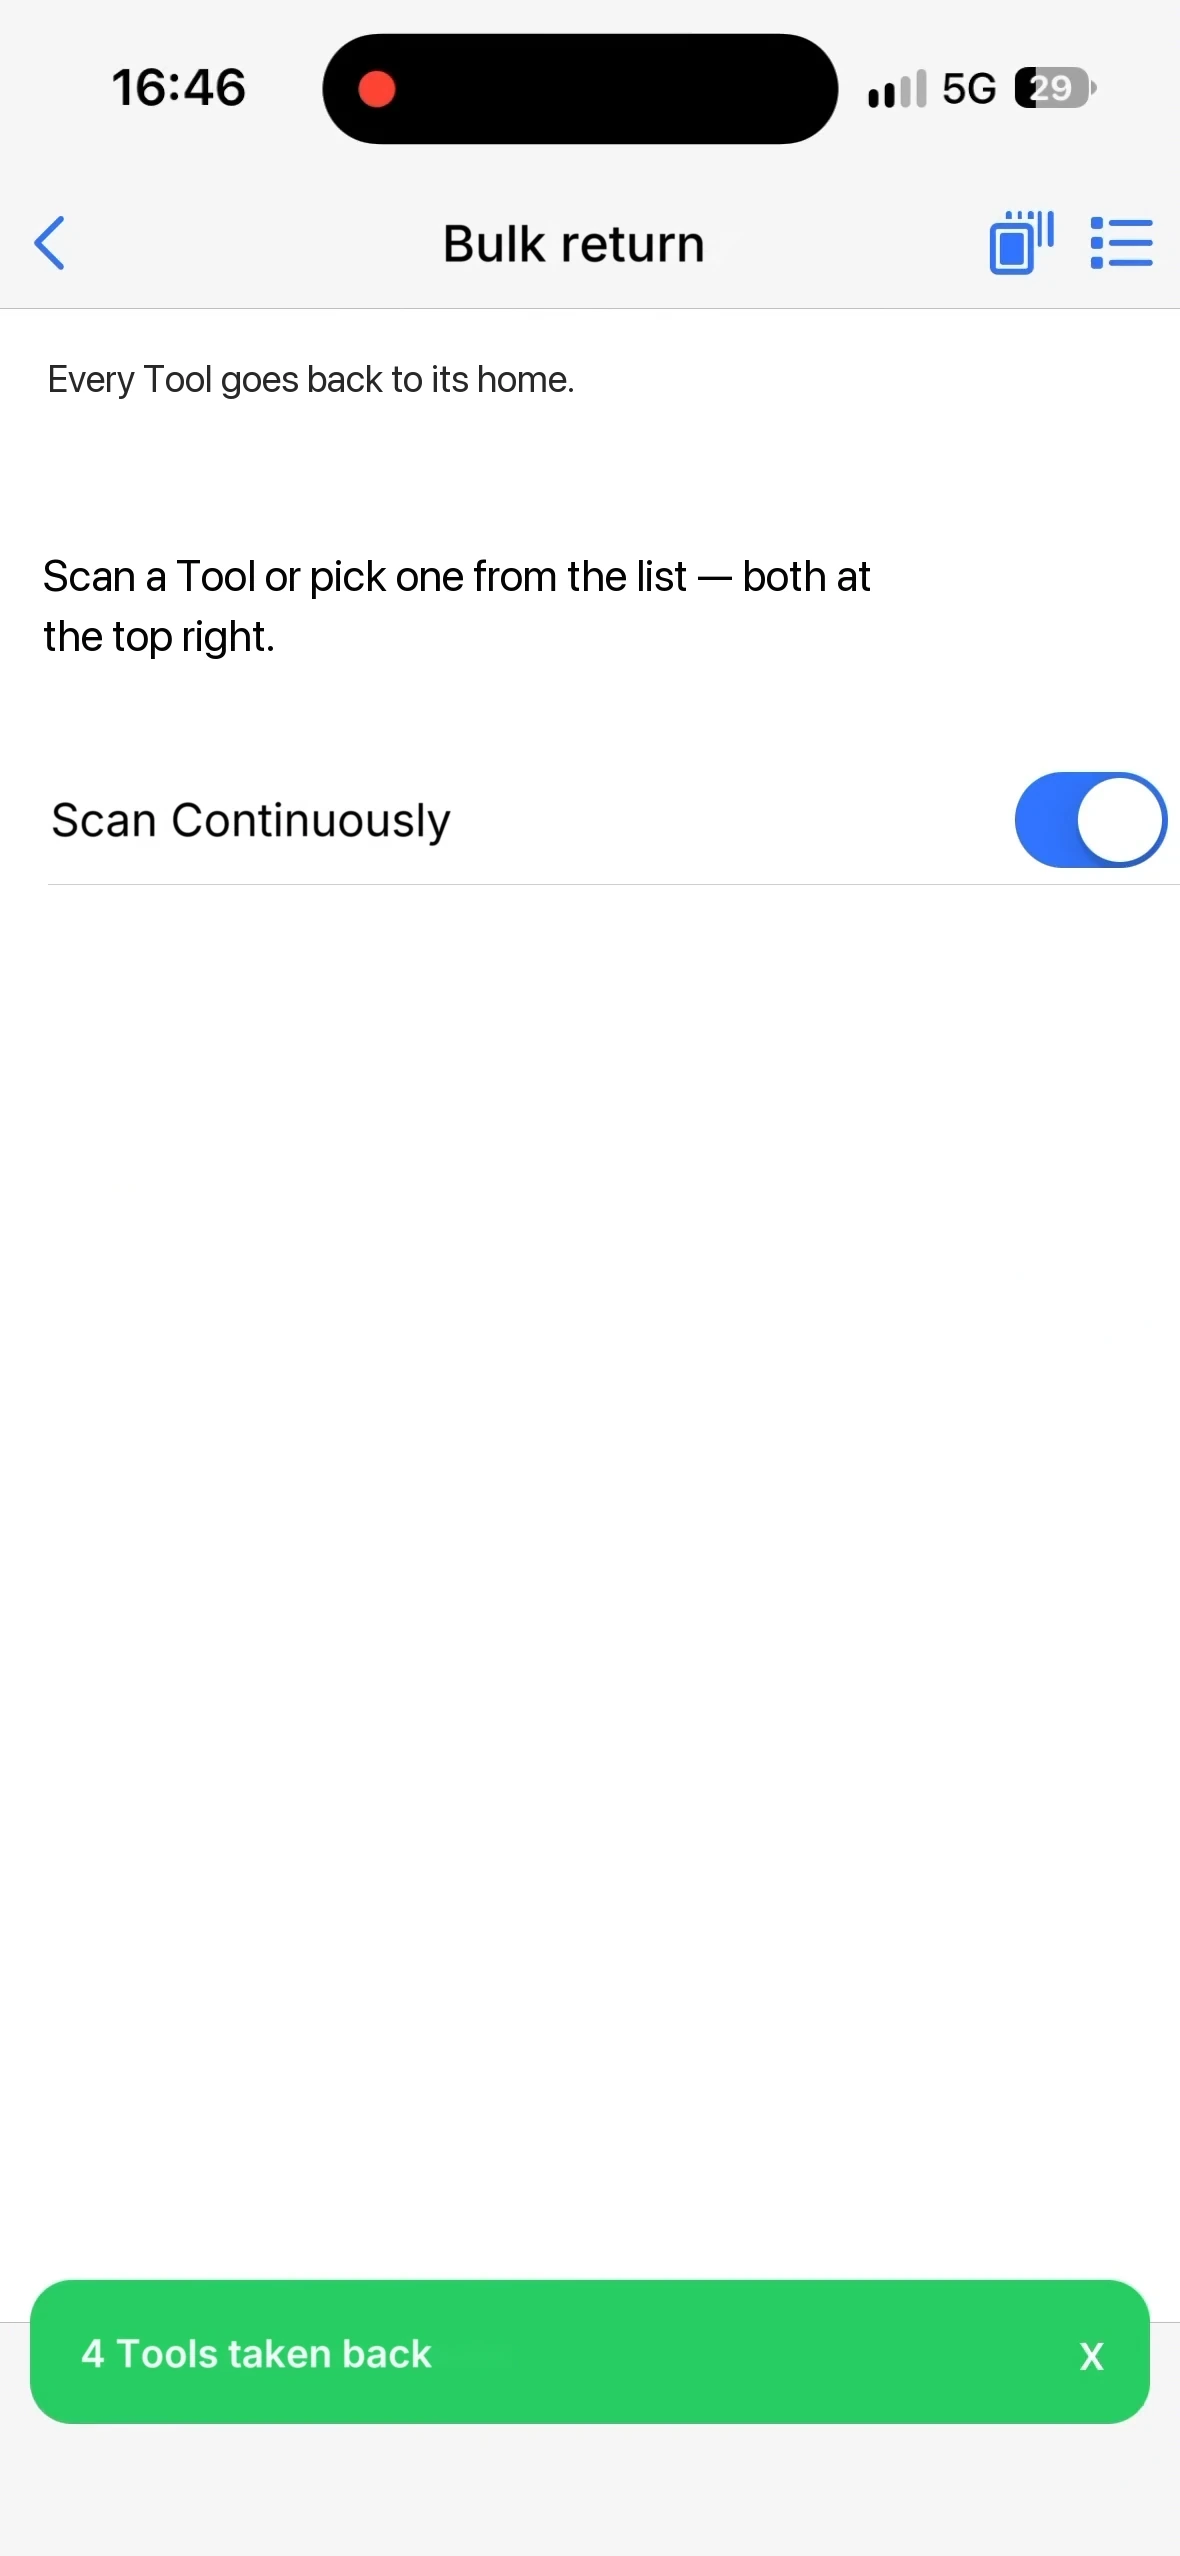
Done. The app confirms how many tools were taken back, and the list is cleared
A tool that is already at home, or that has no home set, is refused at the scan with a message. If a tool comes back broken, tap its line and choose Report Defect, and the report travels in the same round.
What is recorded
- One history line per tool, exactly as with a single assignment from the tool card: where it was, where it went, when, which project, and who did it. The logged-in user is the one on the line, no signature needed. A tool that is already on the project gets no new line.
- The tool is now on the project. Open the tool later and Assigned to: shows the project, and the project keeps the tool until someone takes it back or assigns it on.
- No double entries. A tool that is already in the list is refused with the message is already in the list.
Good to know
- Removing a tool from the list: tap the line and choose Remove from the list. The red icon at the bottom left clears the whole list, after the question Clear list?
- Tools that cannot be assigned are stopped at the scan, with a message: a tool reported as defective (is reported as defective), and a tool blocked from being handed on (must not be handed on). If the tool is on a consignment running right now, the app asks Consignment Item found / Assign anyway? (Ok assigns, Cancel skips the tool)
- Checklist: if one of the tool groups has a checkout checklist, you get one Bulk confirmation for the whole round instead of one per tool. All points must be ticked before the assignment goes through.
- Up to 250 tools per round. When the list is full, the app says so: No more than 250 entries. Please assign these first.
- Without coverage: scanning carries on. The codes are collected with a time stamp, and once the phone is back online you tap Load positions captured offline. The tools are then fetched into the list and you assign as usual. A code the app does not recognise stays visible instead of disappearing.
- Bulk return is the same screen the other way round, see Bulk return above.
Setup for the admin
- Add the favourite button. Bulk assignment (and ideally Bulk return) is chosen as a favourite the same way as the other buttons, see Choose the right favourites in the tool checkout guide.
- Permissions. The user must be allowed to assign tools. To assign to a project, the user must also be able to see projects, otherwise no tabs are shown, only the Assign to field for a location.
- The tools need a code. The QR label from Lagerdrift or the barcode the tool came with, both work. How to enter the code is in New QR code, or the code the tool already has?
Frequently asked questions
Can I assign to a person instead of a project?
Yes. Under the Location tab, type the person's full name in the Assign to field, first and last name as shown in the app. Users marked as templates are also in the list behind the list icon. For a single tool to a single person, Tools · Assign is still the fastest way, see Check out a tool.
What happens to tools that are already on another project?
They move to the new project, and the history shows the move with where it was before, where it went, when and who did it. If the tool is blocked from being handed on, it is refused at the scan.
Do I have to scan? Can I pick from a list?
Not necessarily: the list icon at the top right opens the tool list, and you can fetch tools from there one at a time (not without coverage, then you have to scan). Scanning is faster when the tools are in front of you.
How do I get the tools home again after the project?
With Bulk return: scan the tools that come back, tap Take back. Every tool goes to its own home, you do not choose a destination. See Bulk return above.
Need more? Check our other guides, or send us a request. The system is exactly as advanced or as simple as you need it.